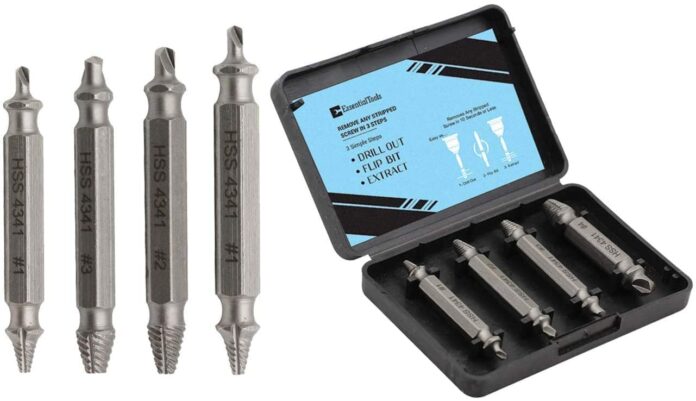
Want to learn how to use a screw extractor to remove damaged screws and rescue building projects?
An effective, functional screw extractor can make it easier than ever to remove damaged screws and prevent damage to other building components. This allows you to work more productively, reducing time constraints and manual labour demands.
To help you get the most out of your screw extractor, here’s a simple beginner’s guide to use!
Why you need a screw extractor
A quality screw extractor is an essential addition to any tool box. Instead of cutting, bending, or leaving damaged screws behind, you can use a screw extractor to remove them and prevent misplaced screws from damaging other materials.
Screw extractors make it easy to get rid of pesky screws that could otherwise compromise the quality and integrity of your project. I just a few minutes, you can use a screw extractor to improve your overall standard of work!
How screw extractors work
Screw extractors are simple! Most screw extractors feature a tapered drill bit with reverse threading. This allows them to latch onto damaged screws and twist them out of place, simply by reversing the process of screwing them in. It’s that easy!
Other tools you may need
To remove screws with a screw extractor, you may need to keep a few other tools and materials on standby. You might need a hammer and drill and its drill bits. You may also require a wrench, a centre punch, or thread cutting oil. Don’t forget safety equipment!
Your step-by-step guide
To use a screw extractor, follow these simple steps.
1. Prepare to remove the screw
Before you can extract a damaged screw, you’ll need to gather all other tools and think about safety.
In some cases, using a screw extractor could cause metal shards to flick upwards, so it’s important to wear safety glasses to protect your eyes. You may also wear a pair of gloves to prevent cuts from metal shards or shavings.
2. Punch out the screw
To remove the screw, you may need to create some extra space. This may means drilling a larger hole for access.
Simple align a punch to the centre of the screw you need to remove, then hammer it down. This will create and indent and will help to guide the drill bit.
3. Drill a guide hole
Next, choose a drill bit that is smaller than the screw you need to remove. You can add thread cutting oil to make this next step easier.
Keep your drill bit straight, and slowly drill into the screw. With a burnishing/extractor double-ended bit, you may need to use your drill in reverse.
4. Screw the extractor
Finally, it’s time to put the screw extractor to work! Turn the screw extractor into the guide hole you have created.
Use the extractor to twist down and grab the screw you want to remove. Then keep turning the screw extractor slowly. The screw will begin to rise. Continue this process until the screw is free.
Looking for high-quality screw extractors? Shop the range today at RS Online!


